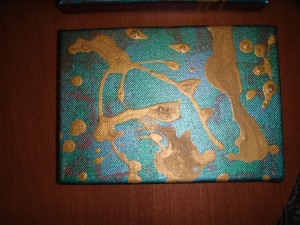
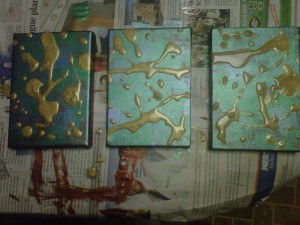
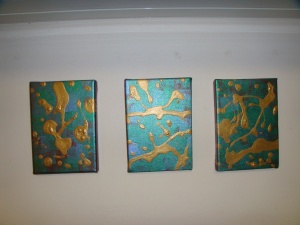
I’m so exited about finishing this project that I wanted to update everyone. We almost finished our 3 paintings collage with the kids this weekend. It took a few more coatings of paint then I thought so that delayed things. Depending on the paint this should be a 3 step project. The kids loved the idea of 3 phases and it uses different techniques for each phase.
Overall quite a simple and fun project. I love abstract art because you can’t mess up! I had each kid work on their own with the same colors and steps, each is similar but yet completely different and their own. If you are working with multiple children remember to put their name in the back before starting!
Supplies:
3-4 Acrylic Paint (complimenting colors)
3 Canvases (I used 5×7)
3 Sponge brushes (or any brush that you fancy)
3 Shaped sponges (I used 1 regular unused kitchen sponge and cut into squares but you can use any shape)
3 Eyedroppers/medicine dropper/plastic spoon/straw?
Optional:
Newspaper for table
Old t-shirts to cover kids
Step 1:
Pick 3 colors (or 4) of acrylic paint. Decide which one will be the base color, the primary color, and the accent color.
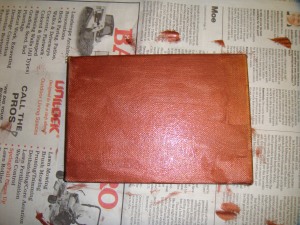
We chose metallic paints- bronze (base), blue & green (primary), and gold (accent)
Use sponge paint brushes to cover the entire canvas with base color. You may need to apply a second coat (wait for 1st coat to dry). Wait for paint to dry before proceeding to step 2.
Step 2:
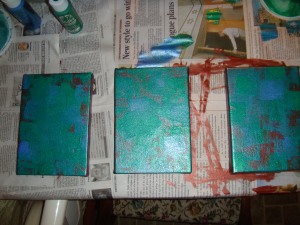
Use sponge shapes to stamp primary color.
Kids seem to go a little over board with the stamping, so to show some of the square shapes I helped them go over it with the 2nd primary color.
Wait for paint to dry before proceeding to step 3.
Step 3:
Drizzle accent color. (can use paint brush, eye dropper, etc.) We used an old medicine dropper- but next time I think we will try blowing it out with a straw.
Depending on your paint you may need to add some water to get a good consistancy to drip/drizzle.
Optional Step 4:
Paint edging/border black or base color.
If you want it to look more professional you can do this, otherwise it’s fine to keep as is.
Wait for paint to dry, cover painting with clear protectant.
Add hooks and hang.
I will post pictures of steps and the final product once it dries. It was still wet this morning.

